Counter Strike Source - Non Steam Dedicated Server Ultimate Guide 2022 Latest (Windows)

While the game was released 16 years ago to this day, it's still an amazing game with good graphics and physics. Even after almost one and a half decade, it keeps you stuck to your computer just like a glue. This game is a remake of 1.6 with the Source engine, and in my opinion, it's the best Counter Strike game.
But how can you play this game with your friends online? This isn't a problem for a Steam user because they have all the servers to join. But for a non-steam or crack user, it's really a problem since they can't join a normal server i.e. non-cracked or non-patched server. Although there are many non-steam server for them, they are really crowded with Russians talking with each other, ignoring you like you are a shit. So what can we do to overcome this problem? Simple, make your own server where you can play with your friends, anytime, anywhere!
Downloading CS:S server:
- Head over to SteamCMD page and scroll down a little bit until you see "Downloading SteamCMD" and download it for Windows using the link they provided.

- Extract the downloaded file and move "steamcmd.exe" to a directory more specific like mine is "E:\Games\Counter Strike Source - Server".

- Now hold down the shift key & right-click in an empty place in Windows Explorer and click on "Open Command Window Here".

- CMD window will appear. Write down "steamcmd" and hit enter. It will start updating SteamCMD so wait for it to be finished.


- After the updating process is finished, write "login anonymous" and hit enter.

- Now write "force_install_dir ./css_server/"

- Finally, type in "app_update 232330 validate" and it will start downloading server files.

- Now just wait for the downloading to be completed. It's almost 2GB in size, so it might take a little long. After the downloading process is complete, just type in "quit" in CMD and close the CMD window.


Setting Up CSS Server:
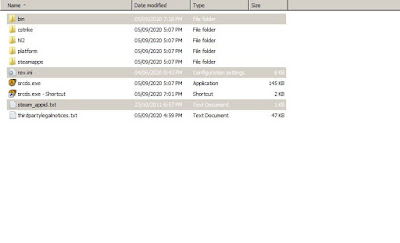
- Go to the directory where you installed SteamCMD and find a folder named "css_server" and double-click on it.

- Right-click on the file named "srcds.exe" and click on create shortcut.

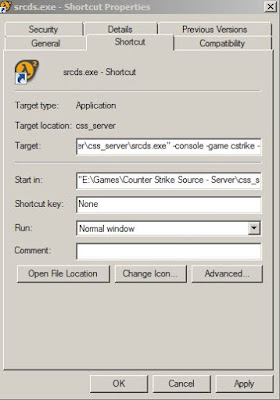
- Now right click on the newly created file and click on properties. A dialog box will appear.

- Now in the "Target" text box, paste these parameters just after the quotes as shown below. (Note: you may change values of parameters as your needs. For example, if you want to run a different map on server startup, then just change "+map de_dust2" to "+map xx" where xx is the map name.)
- Go to this link and scroll down a little bit until you see the download buttons. Use one download button (MEGA recommended) and download the file.
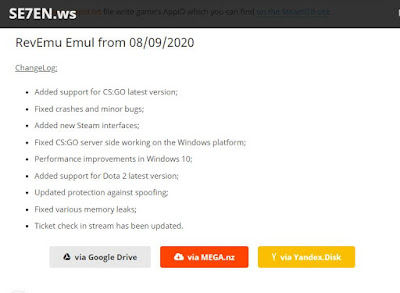
- Extract the file and open the folder "server", then "windows", then copy all the files presented there and paste them to your server's location, replace existing files.


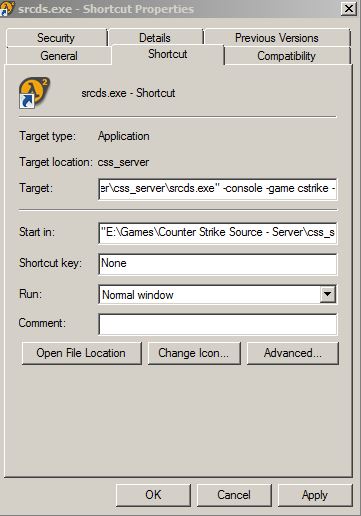
Click on Apply. Now you can run the server with the shortcut. But we also have to non-steam patch it so non-steam users can also join the server.


Port-Forwarding:
- Go to your router's settings. If you don't know how to do that, see this guide.

- Click on "Forwarding" on the left, then click on "Virtual Servers".

- Click on "Add New", fill the form as shown, and click on "Save".

- Again, click on "Add New", fill the form as shown, and click on "Save".


aur sunau ibtihaj kese ho main ahmed
ReplyDeleteagar tumhare paas mera number hai to call kro plzz
baat krni hai
Ahmed Ejaaz? Aajao
Deletehttps://facebook.com/qureshi.ria
https://twitter.com/qureshi_ibtihaj
https://www.youtube.com/c/DrIbtihajQureshi
guy's using Windows XP XD
ReplyDeleteHaha! Actually, it's a theme in Windows 7 that gives the old & classic Windows 98 look.
Delete